A cracked, stained, or dusty garage floor can make the entire space feel neglected, no matter how clean or organized the rest of it is. In the UAE, where heat and sand are constant, bare concrete floors wear out fast and are hard to maintain.
Epoxy flooring is a practical and good-looking solution. It creates a smooth, glossy finish that’s durable, easy to clean, and resistant to oil, stains, and chemicals. Whether you’re planning to take the DIY route or hire professionals for epoxy flooring in Dubai, this step-by-step guide covers everything you need to know.
From prep work to finishing touches, you’ll learn exactly how to epoxy a garage floor the right way.
Why Choose Epoxy for Your Garage Floor?
Epoxy is more than just floor paint. Once it cures, it forms a hard, glossy surface that resists stains, chemicals, oil spills, and even tire marks. That’s why it’s a favorite in workshops, garages, and even commercial spaces.
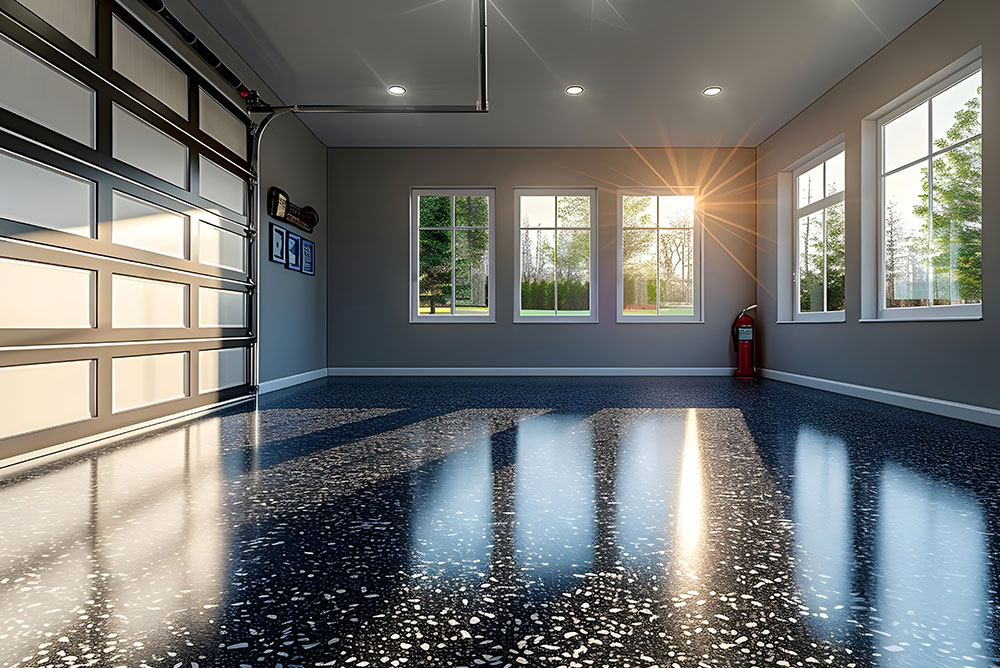
It also transforms the entire look of your garage. A once rough, grey floor becomes clean, bright, and professional-looking. For homeowners in hot and sandy climates like Dubai, epoxy helps protect concrete from wear and dust buildup.
If you’re thinking long-term, this is one upgrade that adds value and reduces future maintenance.
(Also Read: Tips for Choosing the Best Flooring for Dubai’s Climate)
Tools and Materials You’ll Need
Before you start, make sure you’ve got everything ready. Here’s what you’ll need:
- Epoxy floor coating kit (1-part or 2-part)
- Degreaser or concrete cleaner
- Etching solution or a floor grinder
- Patch or filler for cracks
- Mixing bucket and stirrer
- Paint rollers and brushes
- Masking tape
- Protective gloves, mask, and goggles
- Optional: non-slip additives or decorative flake
If you’re in the UAE, many local suppliers carry complete kits, or you can reach out to companies that specialize in epoxy flooring in Dubai.
How to Apply Garage Epoxy Floor
Here’s a step-by-step guide on how to apply garage epoxy floor the right way.
Step 1: Prepare the Garage Floor
This is the most important step. A clean and well-prepped surface ensures the epoxy bonds properly and lasts longer.
- Clear out the garage completely.
- Clean the surface. Use a concrete degreaser to remove oil stains, grease, and dirt.
- Etch or grind the floor. This opens up the pores of the concrete so the epoxy can stick. You can use an etching acid or rent a floor grinder.
Make sure the floor is fully dry before moving to the next step. Any leftover moisture or dust can weaken the coating.
(Important: This step lays the base for everything else, don’t skip or rush it.)
Step 2: Repair Cracks and Holes
Inspect the floor for cracks, pits, or rough spots. Use a concrete patch compound to fill them in.
Let the repairs dry thoroughly, then sand them down until the surface is smooth. Uneven areas will show through the epoxy once it’s dry, so take your time here.
If your garage has expansion joints, use a flexible joint filler to prevent cracking later.
Step 3: Test for Moisture
Moisture trapped beneath the surface can ruin your entire epoxy job. Do a quick plastic sheet test:
- Tape a plastic sheet (about 2×2 feet) to the floor.
- Leave it for 24 hours.
- If water collects underneath, the floor needs a moisture barrier or professional help.
This is especially important in humid regions like Dubai, where garage floors can trap condensation.
Step 4: Mix the Epoxy Paint
Follow the manufacturer’s instructions carefully. Most epoxy kits come with two parts: resin and hardener. Once mixed, the chemical reaction begins, and you’ll only have a limited time (called “pot life”) to apply it.
Stir thoroughly and only mix what you can apply in 30-40 minutes. Use a drill with a mixing paddle for best results.
Step 5: Apply the First Coat of Epoxy
Start from the farthest corner of the garage and work your way toward the exit.
- Cut in edges using a brush.
- Use a roller with an extension pole for large sections.
- Maintain a wet edge to avoid roller lines.
- Apply evenly without going over areas too many times.
If you’re planning to add color flakes or non-slip grit, now is the time to sprinkle them over the wet epoxy.
This is where you’ll naturally be applying what many refer to as epoxy paint, and yes, this is exactly how to epoxy paint a garage floor without the mess.
Step 6: Let It Dry and Apply the Second Coat
After the first coat dries (usually overnight), inspect it:
- Any missed spots?
- Any bubbles or dust?
If needed, lightly sand uneven areas and wipe away the dust. Then apply the second coat using the same method.
This second layer will add depth, color, and better protection. This is often the step that completes the ‘how to coat a garage floor’ process.
Step 7: Add the Topcoat (Optional but Recommended)
A topcoat isn’t always included in basic epoxy kits, but it can make a big difference:
- Adds shine
- Improves scratch resistance
- Makes cleaning even easier
Apply it the same way as the previous coats and allow it to cure fully.
Topcoats are a great option if you want your floor to look showroom-worthy or if your garage gets a lot of foot or vehicle traffic.
What Mistakes Should You Avoid?
Even a good product can fail with poor application. Watch out for these common errors:
- Not cleaning the floor thoroughly
- Skipping crack repairs
- Applying epoxy on a damp surface
- Not mixing the epoxy properly
- Rushing between coats
Fixing mistakes can cost more than doing it right the first time, so follow each step with care.
How Long Will an Epoxy Garage Floor Last?
If applied correctly, an epoxy garage floor can last 7 to 10 years or more. Factors that affect its durability include:
- How well the floor was prepped
- Type of epoxy used
- Frequency of vehicle or equipment use
- Exposure to sunlight (UV rays)
In places like Dubai, where sand and heat are daily concerns, regular cleaning and occasional recoating help extend the lifespan even more.
DIY vs. Professional Epoxy Flooring
Doing it yourself saves on labor costs, but not everyone has the time, tools, or patience. Here’s when hiring experts for epoxy flooring in Dubai makes sense:
- Large or uneven floors
- Moisture issues
- No access to grinders or equipment
- You want a high-end, polished finish
Professionals can complete the work faster and often offer warranties.
Wrap Up!
Learning how to epoxy a garage floor is a valuable skill, but only if it’s done right from the beginning. Every step matters, from cleaning and prepping to applying coats and curing properly.
Whether you’re rolling up your sleeves for a weekend DIY or calling experts for epoxy flooring in Dubai, this guide is built to make your decision and process easy.
With a bit of effort, your garage floor can go from dusty and dull to clean, bright, and built to last.
FAQs (Frequently Asked Questions)
Q1. How long does it take to epoxy a garage floor?
The full process usually takes 2 to 3 days, including surface prep, applying coats, drying time, and final curing. It’s best not to rush any step.
Q2. Can I epoxy my garage floor myself, or do I need a professional?
Yes, you can do it yourself if you follow each step carefully. However, hiring professionals for epoxy flooring in Dubai is ideal for large or uneven floors.
Q3. How long should I wait before parking my car on the new epoxy floor?
Wait at least 5-7 days before driving or parking a vehicle on the epoxy-coated floor to allow it to fully cure and harden.
Q4. Is epoxy flooring slippery?
Epoxy can be slippery when wet, but you can add non-slip additives or flakes during application to improve traction and safety.
Q5. What’s the best time of year to apply epoxy in Dubai?
Cooler months are ideal. High heat and humidity in summer can affect curing, so it’s better to apply epoxy between November and March if doing it yourself.
